 Everything I used (except the paper) was from the dollar store. The frame, flowers, jewels, even the hot glue. Decorating on a budget. Woo hoo!
 1. I cut out some paper in the size of the frame opening. I used the stock paper that came with the frame to get the correct size.
 2. I put the paper in and then the glass underneath. Who knows, someday I may change what is in these frames and will still want the glass.
3. Pull the flower apart and turn it upside down because you will be starting with the bottom layer.
 4. Put a decent bit of glue in the middle of the paper and press the bottom layer of the flower onto it.
 5. Continue with each layer. I usually surround the hole in the flower so that I don't get glue on my fingers as much.
 6. Put a jewel in the center and voila, you're done!
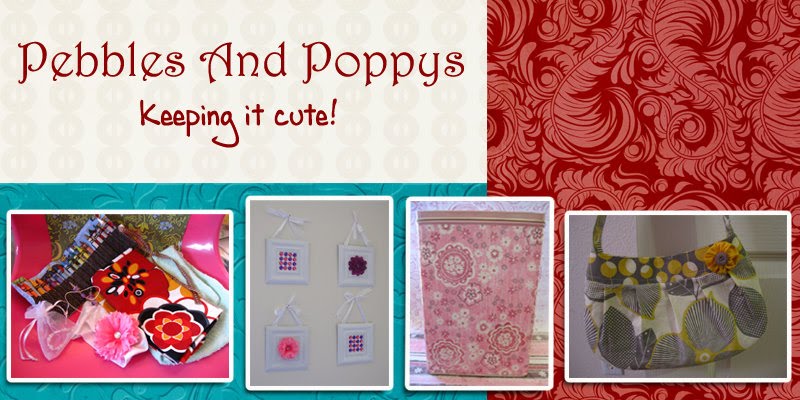
 A cute framed flower for your little girl's room. At least that is where these are going.
 Here is a pink one I did too. My daughter's room is all in pinks and purples so these fit in just right.
Total for this project? About $1.20 per frame. Maybe even less.

To know how to make the Framed Jewels go here.













1 comment:
thanks for the tutorial they look so cute
Post a Comment